Setting up an AMI orbital welding system may seem intimidating, but with proper guidance, you can make it a more manageable process. This guide offers clear and concise instructions to optimize the performance of your AMI orbital welding system. By the end, you will be prepared to set up your system efficiently and safely.
Understanding the Basics of Orbital Welding
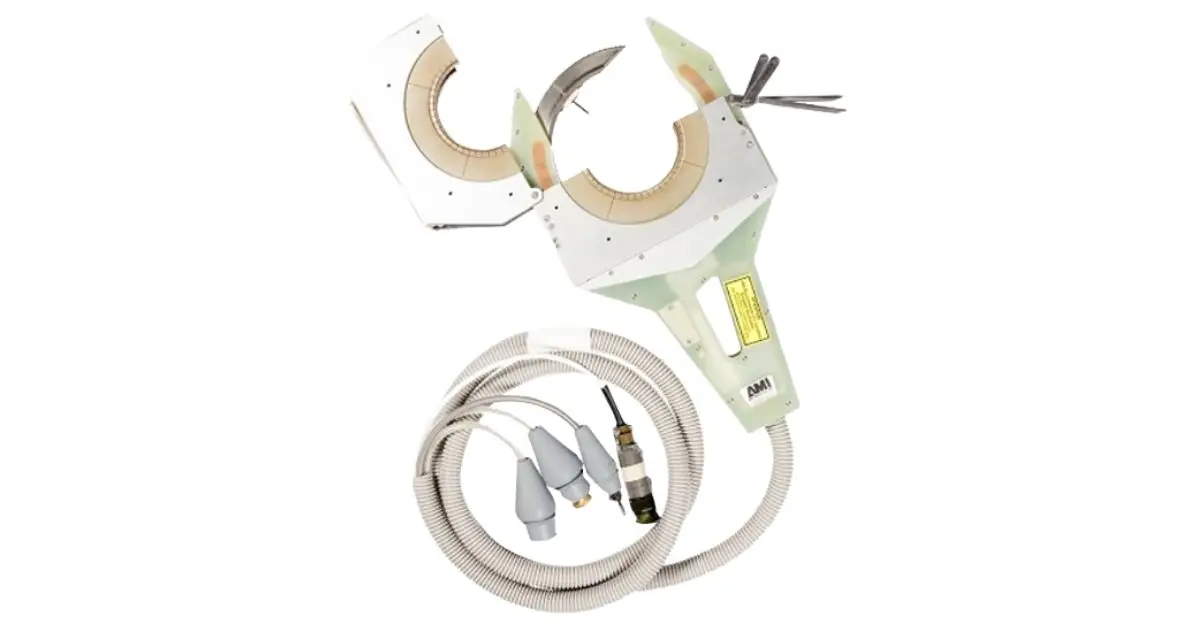
Orbital welding is the automated welding of tubes and pipes using a specialized welding head that rotates 360 degrees around the workpiece. This technique is ideal for applications requiring high precision and repeatability by using orbital welding machines.
In orbital welding, the torch’s mechanical movement is consistent, reducing the room for human error. Utilizing a mechanized process offers superior weld quality and consistency, especially for piping and tubing in industries like pharmaceuticals and aerospace.
Before you start the setup process, you need to understand basic welding concepts. These fundamental principles will lay the foundation for a successful setup.
Why Choose AMI Orbital Welding Systems?
AMI, or Arc Machines, Inc., is a leading provider of orbital welding equipment recognized for being precise and reliable. Choosing an AMI system means you are adopting the latest in cutting-edge technology. Their systems specialize in various applications to maintain versatility in demanding environments.
In addition to their precision, these systems are suitable for tasks requiring extreme accuracy. SEC Automation Inc. provides AMI welding equipment options designed to accommodate diverse operational needs. This dependability guarantees efficiency in manufacturing environments.
Preparing Your Workspace
Before setting up your AMI orbital welding system, organize and declutter your workspace. A clean, organized space minimizes the risk of danger and allows you to focus without hazards. Place all welding components within easy reach so your setup process can be as streamlined as possible.
Inspect the conditions of your environment for factors such as temperature and humidity. Extreme conditions can affect your equipment’s functionality and welding quality. Provide adequate ventilation to prevent harmful fume accumulation. Most importantly, require the operator to wear safety gear such as gloves and goggles to protect their safety.
Gathering Necessary Equipment and Tools
Preparing for a successful welding project requires careful attention to the tools and equipment you’ll use. These items include:
- orbital welding machine
- power supply
- control panel
- welding torch
Review your components for compatibility and working condition. Additionally, gather necessary supplementary materials, including filler rods, cleaning solvents, and maintenance kits.
Verify that all connections and cables are intact and undamaged. A malfunctioning component can compromise the entire setup and result in suboptimal welds. Keeping a checklist is advisable to prevent overlooking critical tools or components during preparation.
Inspecting the Welding Machine
Before initiating setup, thoroughly inspect the welding machine for signs of wear and tear. Pay close attention to the power supply, and confirm that all connections are secure. Check that the control panel functions correctly so you can make precise adjustments during welding.
Your welding torch should not be damaged or distorted. The torch’s integrity is vital for maintaining weld quality and ensuring consistent results. Regular maintenance and routine inspections can extend your welding equipment’s lifespan.
Setting Up the Power Supply
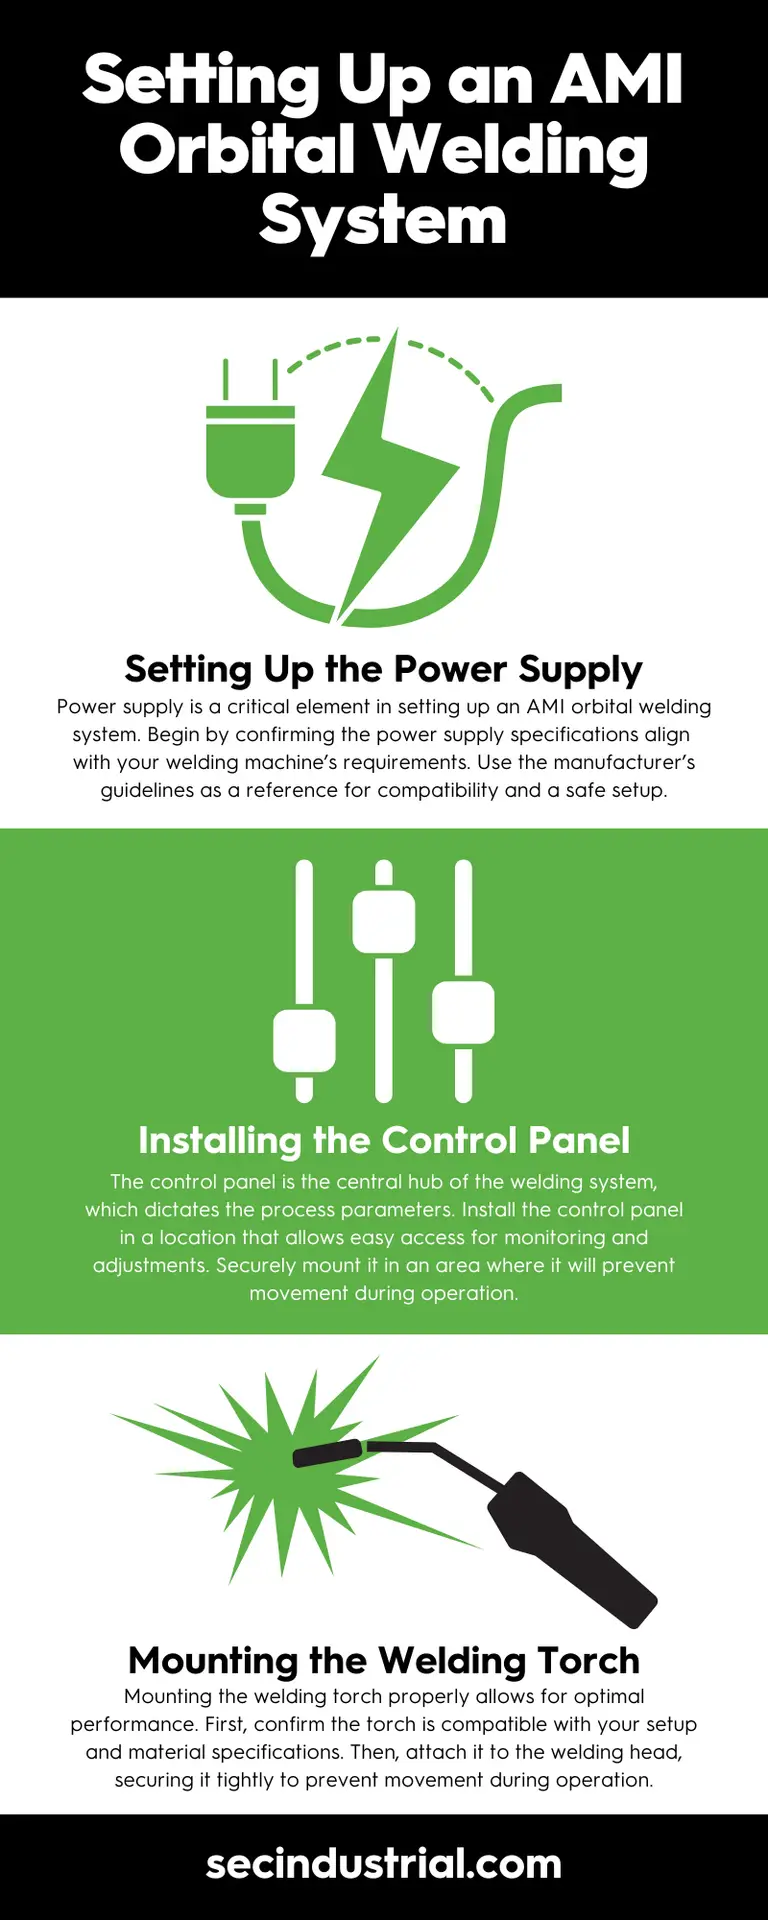
Power supply is a critical element in setting up an AMI orbital welding system. Begin by confirming the power supply specifications align with your welding machine’s requirements. Use the manufacturer’s guidelines as a reference for compatibility and a safe setup.
Securely connect the power supply to the welding machine, ensuring all connections are tight and free from corrosion. Double-check all settings on the power supply, and adjust the current parameters according to the materials and thickness you’ll be working with.
Installing the Control Panel
The control panel is the central hub of the welding system, which dictates the process parameters. Install the control panel in a location that allows easy access for monitoring and adjustments. Securely mount it in an area where it will prevent movement during operation.
Study the control panel’s functions and settings. Make necessary adjustments to parameters such as weld speed, arc length, and electrode angle based on the specific project requirements. These settings directly affect the welding quality and highlight the importance of precision.
Mounting the Welding Torch
Mounting the welding torch properly allows for optimal performance. First, confirm the torch is compatible with your setup and material specifications. Then, attach it to the welding head, securing it tightly to prevent movement during operation.
Align the torch with the pipe or tube so it can rotate freely without obstruction. When it is properly aligned, the weld bead is even and consistent throughout the process. Take the time to double-check alignment and secure mechanisms before proceeding.
Connecting Components
Connecting all components—power supply, control panel, and welding torch—requires meticulous attention to detail. Use the manufacturer’s manual to make the correct connections. Misconnections can lead to system malfunctions or poor weld quality.
After connecting, power on the system and perform a system check. Verify that all components communicate effectively and that the control panel displays accurate readings. This step will help you identify potential issues before starting the welding process.
Testing the System
Before a full-scale operation, conduct a test to verify that the system works as expected. Use scrap material to test the weld quality, checking for consistency and structural integrity. Adjust parameters accordingly based on the test results.
Inspect each weld closely for defects or irregularities. A successful test will indicate that your setup is correct and ready for production-level welding. Regular testing and calibration help maintain the system’s performance and extend its operational lifespan.
Troubleshooting Common Issues
Despite careful setup, issues may arise during operation. Common problems include inconsistent welds due to equipment overheating or control panel errors. Familiarize yourself with troubleshooting techniques specific to your AMI orbital welding system model.
Consult the manufacturer’s manual to troubleshoot solutions. Often, simple adjustments to settings or tightening loose connections can resolve problems. Improper equipment maintenance opens the door for anomalies which can lead to more significant disruptions.
Maintenance and Care Tips
Proper maintenance can improve the lifespan and performance of your welding system. We at SEC Automation Inc. recommend you regularly clean all components, removing any buildup of contaminants prone to affect performance. Check connections often so they remain secure and functional.
Schedule inspections and servicing by qualified technicians to address wear and tear. Keep detailed records of maintenance activities, tracking replacements and repairs. Taking a proactive approach reduces downtime and enhances system reliability.
Next Steps
As we’ve covered, setting up an AMI orbital welding system requires careful preparation. Pay close attention to the details, and adhere to safety protocols. By following this comprehensive guide, you can be certain your system is set up for optimal performance and longevity.
Regular maintenance and monitoring help preserve the system’s functionality. Staying up to date on new information will keep you at the forefront of welding technology. If you’re interested in advancing your skills, SEC Automation Inc. is your home for reliable welding equipment.
